A Peek into Isometric Design
Isometric design is a unique and eye-catching visual representation technique that allows you to create three-dimensional objects on a two-dimensional plane. By using a fixed angle (usually 30 degrees), isometric designs retain the appearance of 3D objects without the need for perspective or vanishing points. This design style has gained popularity in various fields such as illustration, game design, and architecture.
For a deeper understanding of isometric design, we recommend reading our previous blog post: What is Isometric Design and Why is it so Popular?
The Power of Isometric Design in Visual Communication
Isometric design offers a fresh and engaging approach to visual communication, making it easier for viewers to comprehend complex information. This design style helps in creating depth, adding visual interest, and showcasing multiple sides of an object, all without distorting the overall composition.
Figma: A Creative Playground for Isometric Designs
Figma offers extensive capabilities for creating isometric designs. With the help of its intuitive interface, versatile features, and essential plugins, you can design captivating isometric visuals with ease.
Related: The Figma Complete Guide: Useful Tools, Prototyping and Good Practices
Laying the Foundation: Setting up the Isometric Grid in Figma
The Backbone of Isometric Design: The Isometric Grid 60º Template
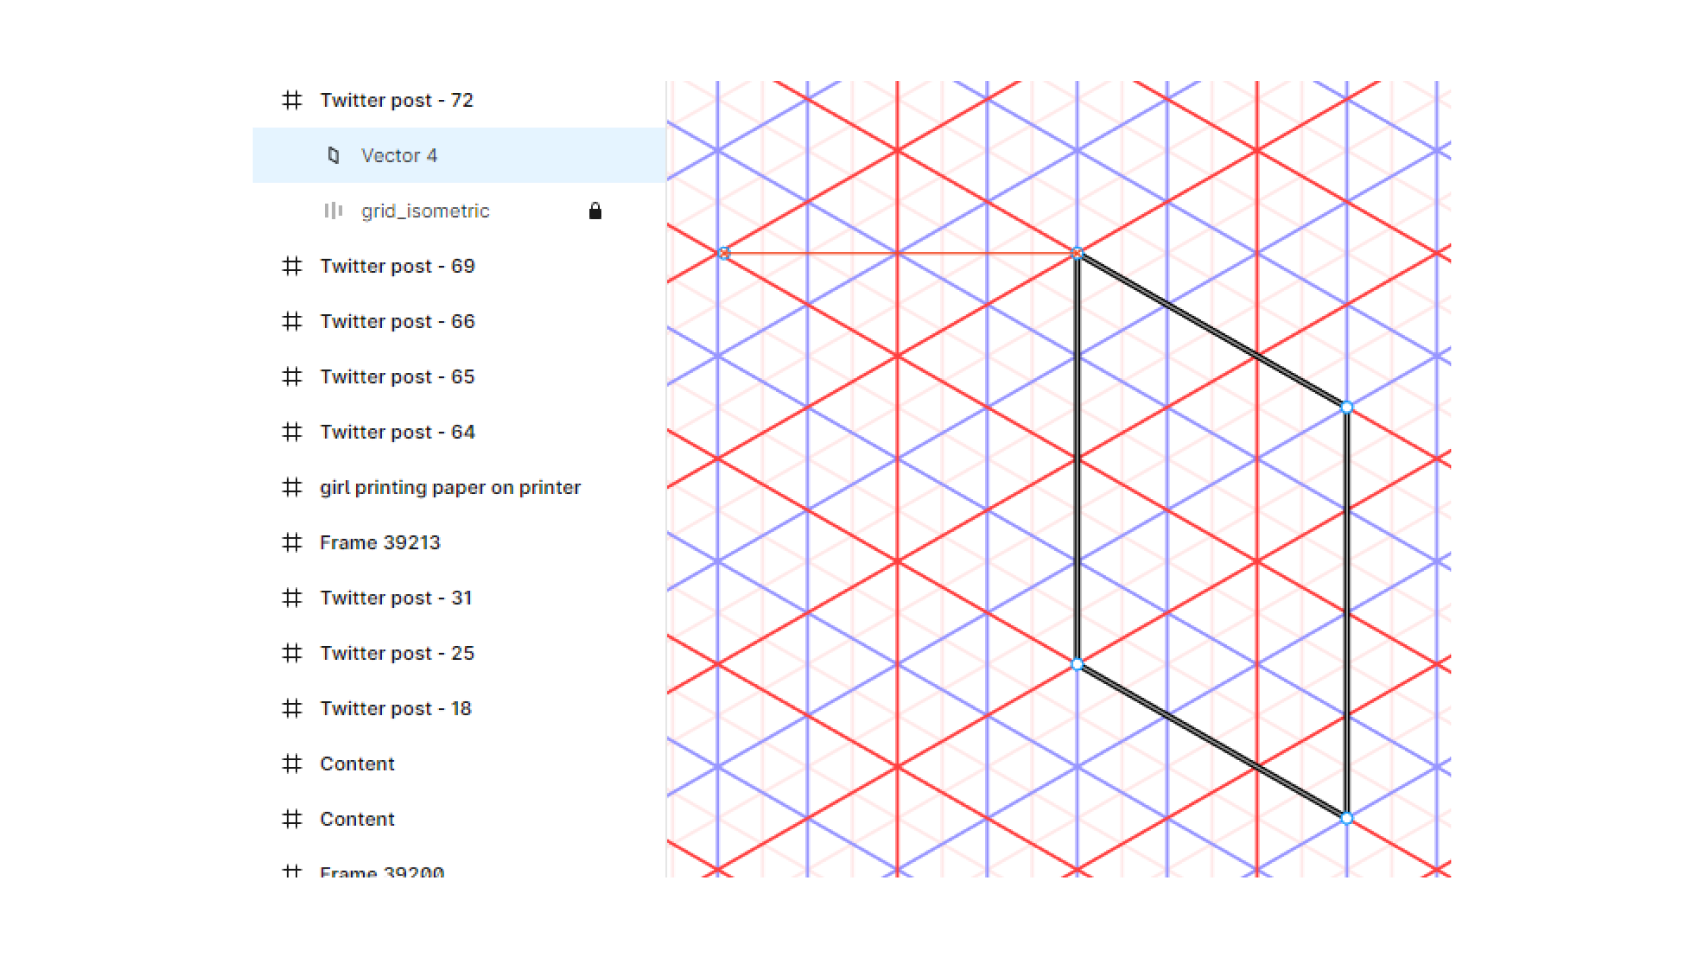
To begin creating isometric designs in Figma, you'll first need to set up an isometric grid. The Isometric Grid 60º template is an great starting point, as it provides a structured framework for creating accurate and consistent isometric shapes.

Importing the Isometric Grid 60º Template
To access and import the Isometric Grid 60º Figma template, follow these simple steps:
- Visit the Figma Community and search for the "Isometric Grid 60º" template. Once you find it, click "Duplicate" to add it to your drafts.
- To use it, simply make a copy of the grid and add it into the frame. Remember to lock it before you start drawing shapes over it.
- Since it’s made out of components, you can publish them to your library to use whenever you like.
Enhancing Your Isometric Creations with Figma Plugins
Ease Isometric: Streamline Your Isometric Workflow
Overview and Purpose
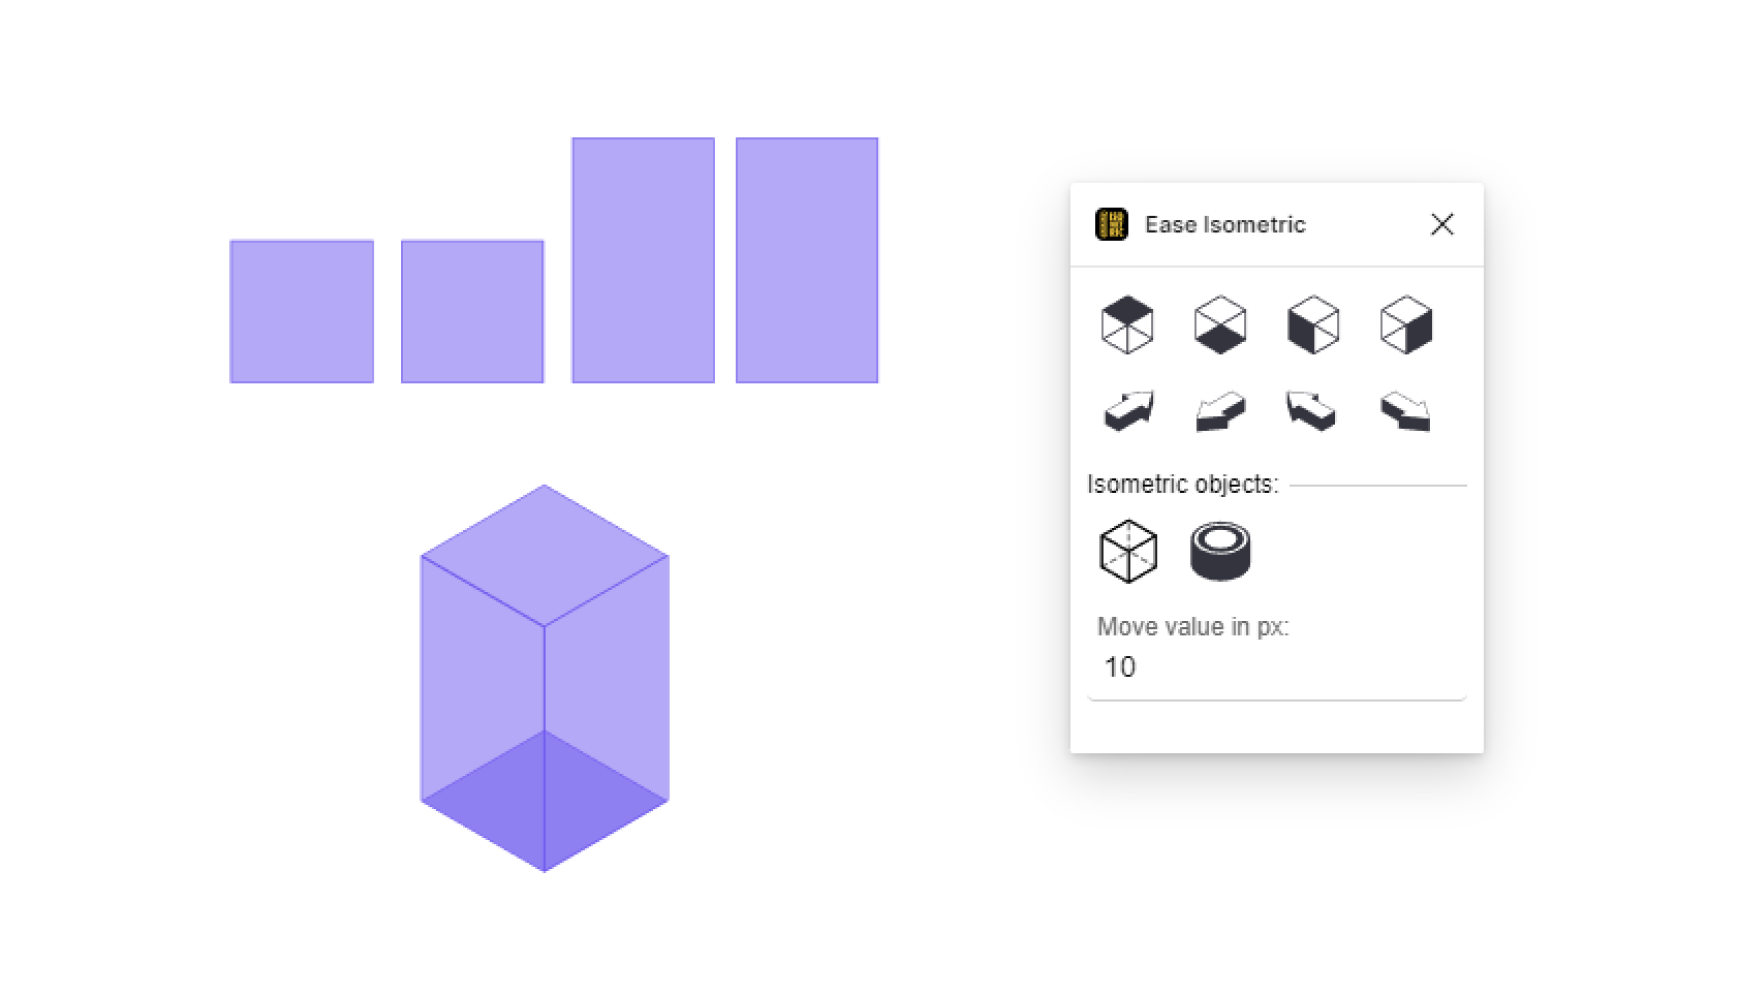
Ease Isometric is a powerful Figma plugin that simplifies the process of creating isometric designs. With its user-friendly interface and versatile features, this plugin automates the conversion of 2D shapes into isometric projections.
Key Features
- Automatically convert flat shapes into isometric views
- Customizable projection angles and scaling options
- Supports grouped and nested objects
Installation and Usage
To install Ease Isometric, go to the Figma Community and search for the plugin. Once you find it, click "Install" to add it to your Figma plugins.
Using Ease Isometric is straightforward:
- Select the 2D shape you want to convert.
- Navigate to "Plugins" (or press Shift + I) in the top menu and click "Ease Isometric."
- Choose your desired projection angle and scale, then click "Convert."
Easometric: A Powerful Ally for Isometric Design
Overview and Purpose
Easometric is another invaluable Figma plugin that aids in the creation of isometric designs. It allows designers to quickly and easily generate isometric objects from flat shapes.
Key Features
- One-click conversion of 2D shapes to isometric projections
- Adjustable projection angles
- Compatible with Figma components
Installation and Usage
To install Easometric, visit the Figma Community, search for the plugin, and click "Install." Using Easometric involves just a few simple steps:
a. Select the 2D shape you want to convert.
b. Go to "Plugins" in the top menu and click "Easometric."
c. Choose your desired projection angle and click "Apply."
Perspective Toolkit: Enhance Your Isometric Designs
Overview and Purpose
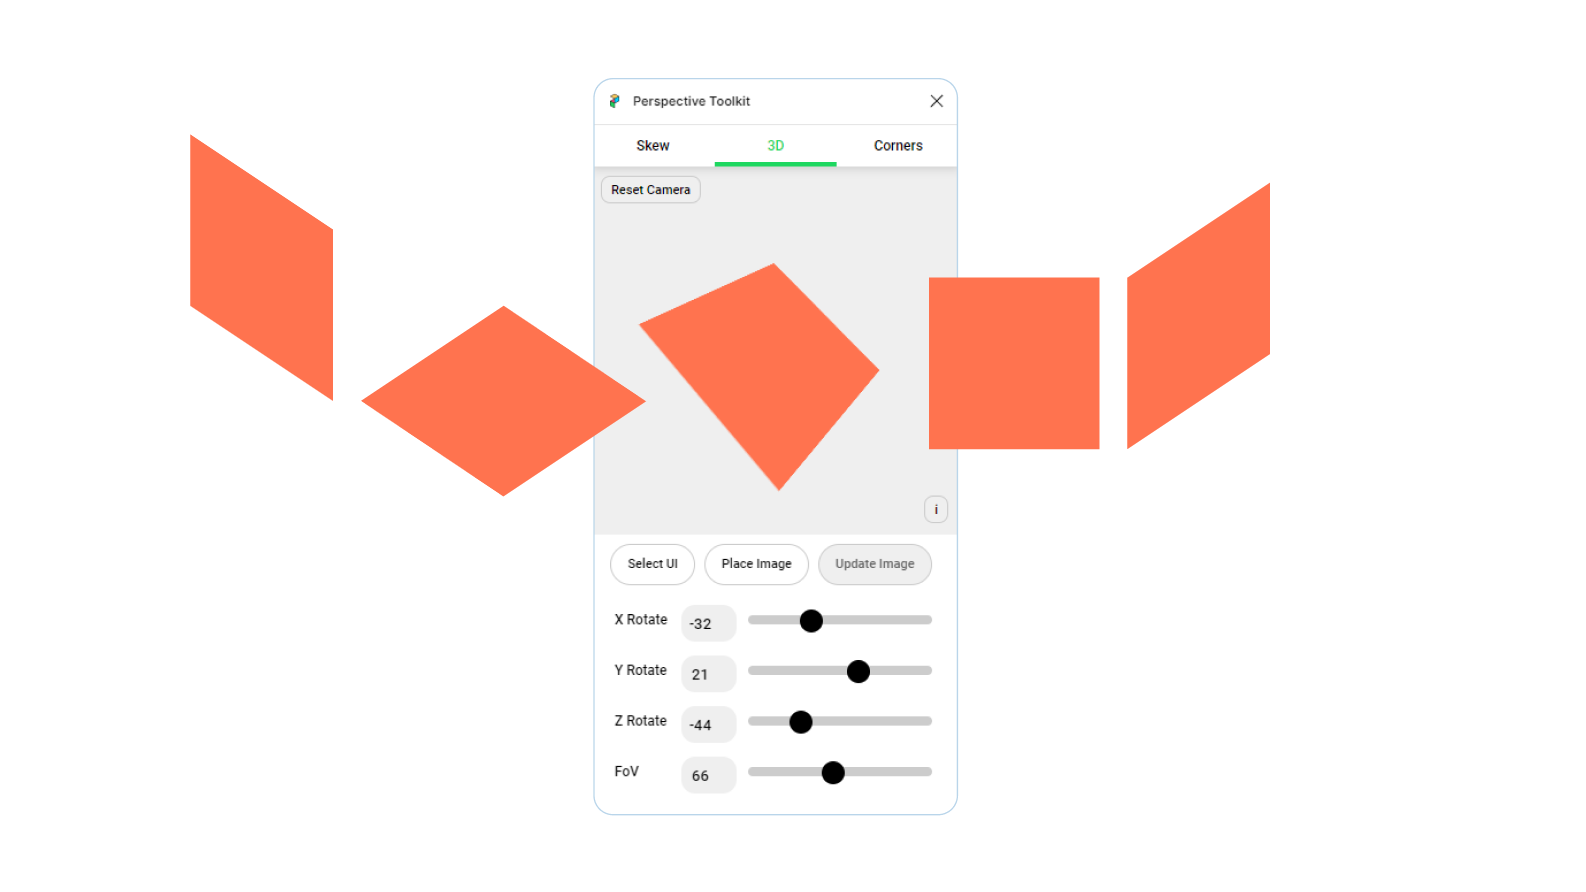
Perspective Toolkit is a comprehensive Figma plugin that helps you manipulate objects in isometric designs. It allows you to adjust the perspective of individual elements to create more engaging visuals.
Key Features
- Intuitive interface for adjusting object perspectives
- Real-time preview of perspective changes
- Support for multiple objects and layers
Installation and Usage
To install Perspective Toolkit, go to the Figma Community, search for the plugin, and click "Install." To use Perspective Toolkit:
a. Select the object you want to manipulate.
b. Navigate to "Plugins" in the top menu and click "Perspective Toolkit."
c. Use the plugin's interface to adjust the object's perspective as desired.
Crafting Isometric Masterpieces in Figma: A Step-by-Step Process
Laying the Groundwork: Preparing Your Canvas
Open Figma and create a new file to begin designing your isometric masterpiece.
Select the "Frame" tool from the toolbar and choose your desired canvas size. Position your Isometric Grid 60º template on the artboard.
Building Blocks: Designing Basic Shapes in Isometric View
Use the "Pen," "Rectangle," or "Ellipse" tools to draw basic shapes on your canvas, aligning them to the isometric grid.
Converting Shapes with Ease Isometric and Easometric Plugins
Create some basic shapes, select them and use either the Ease Isometric or Easometric plugin to convert them into an isometric projection.
Adding Depth and Perspective to Your Design
Manipulating Objects with the Perspective Toolkit
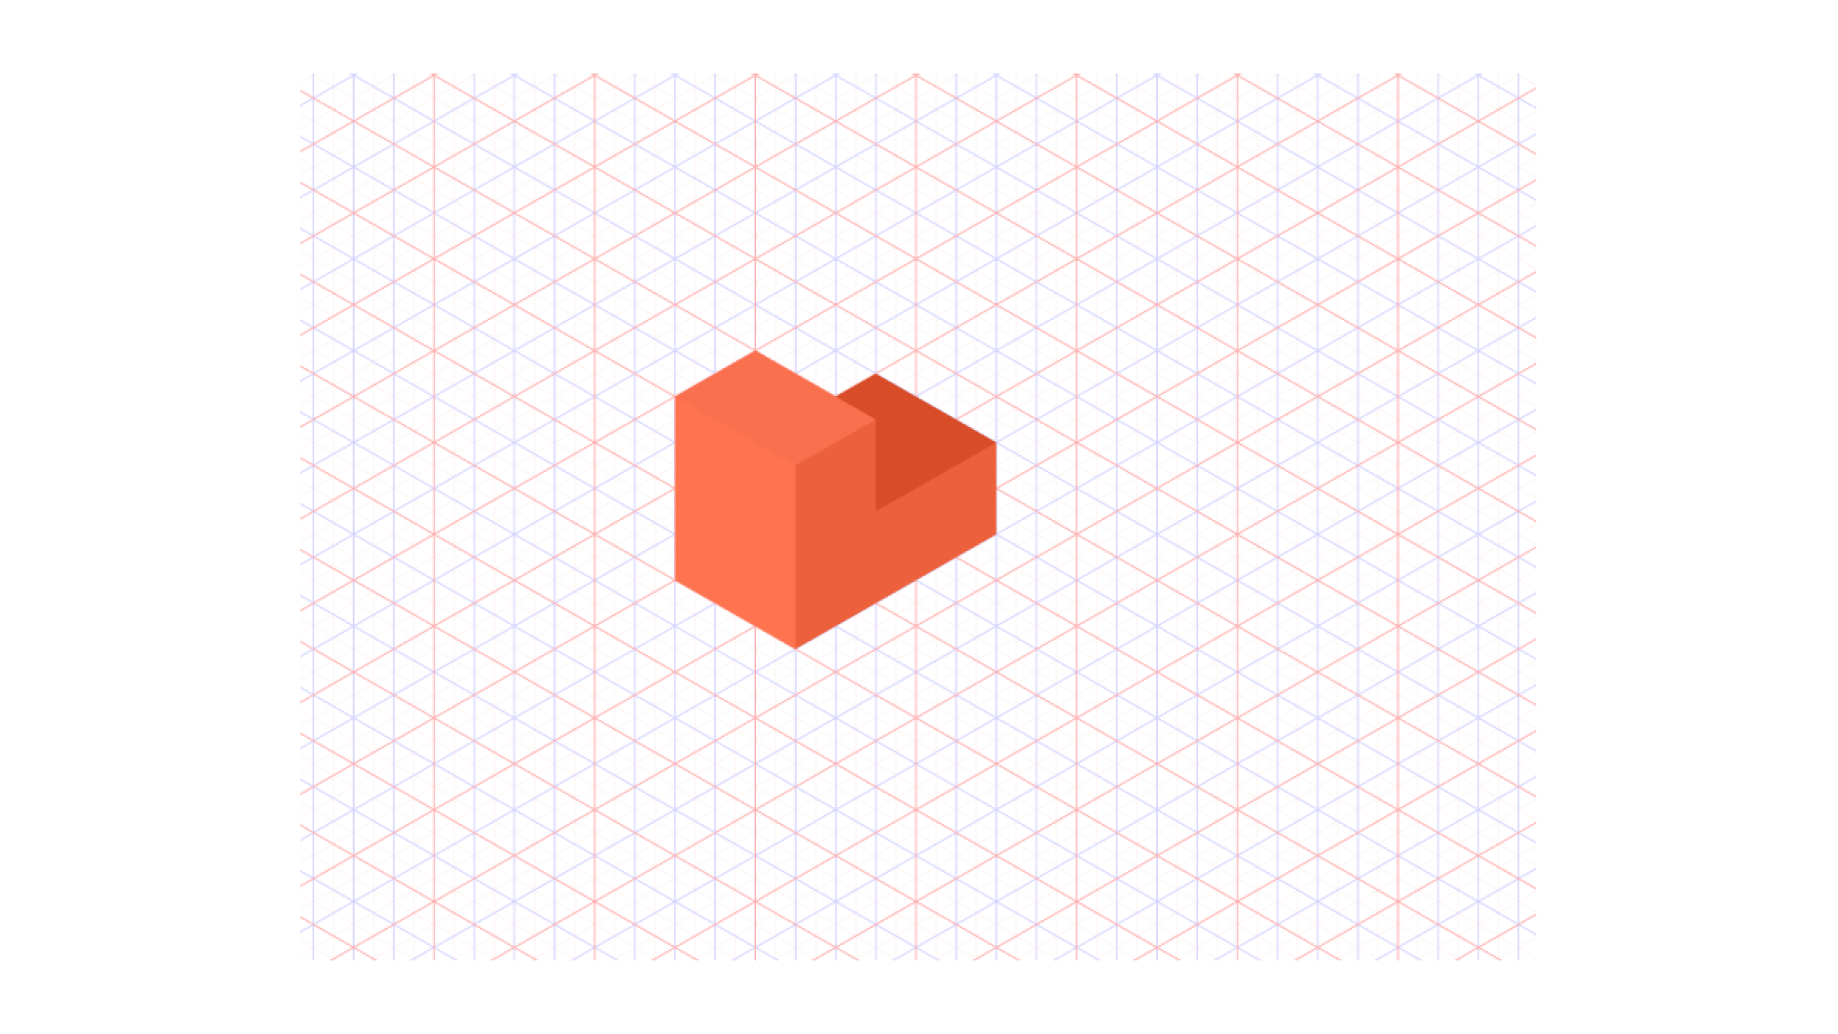
To enhance the depth and perspective of your isometric design, use the Perspective Toolkit plugin to adjust individual elements. Select the object you want to manipulate, open the Perspective Toolkit, and modify the object's perspective to create a more engaging visual experience.
Tips for Achieving Realistic Depth in Isometric Designs
a. Use color and shading: Apply different shades and gradients to your isometric objects to create a sense of depth and volume.
b. Layering: Arrange objects in a way that accurately represents their position in 3D space. This can be achieved by using Figma's layer panel to move objects forward or backward in the stacking order.
c. Consistent scaling: Maintain a consistent scale across all objects in your design to ensure a cohesive and visually appealing composition.
d. Experiment with textures and patterns: Add visual interest and depth to your isometric design by incorporating textures and patterns on surfaces.
Related: Design Principles: Creating Effective & Engaging User Interfaces and 7 High-Quality Tips to Leverage Figma
By following this step-by-step process and utilizing the powerful plugins Ease Isometric, Easometric, and Perspective Toolkit, you can create stunning isometric designs in Figma. Remember to experiment with different shapes, colors, and perspectives to make your creations truly unique.
Mastering Isometric Design in Figma: Tips and Best Practices
Keep It Tidy: Organizing Your Layers and Groups
Maintain a clean and efficient workspace by organizing your layers and groups in Figma. Proper organization helps you easily navigate and edit your design, leading to a smoother workflow. Name your layers and groups logically, and use Figma's built-in features like frames and components to structure your design.
Depth Perception: Using Color and Shading for Added Depth
Incorporate color and shading to create a sense of depth and volume in your isometric designs. Use gradients, shadows, and highlights to enhance the three-dimensional appearance of objects while maintaining the overall composition.
Cohesive Creations: Achieving Consistency in Style and Scale
Ensure that your design remains visually appealing and coherent by maintaining a consistent style and scale across all objects. This consistency not only makes your design more aesthetically pleasing but also helps convey your intended message effectively.
Final Touches: Exporting and Optimizing Your Isometric Designs
When you're ready to export your isometric design, use Figma's export features to optimize the file for different use cases, such as web or print. Choose appropriate file formats, resolutions, and compression settings to ensure the best results.
Conclusion: Unleashing Your Isometric Creativity
In this tutorial, we've explored the process of creating isometric designs in Figma, leveraging the Isometric Grid 60º template and powerful plugins like Ease Isometric, Easometric, and Perspective Toolkit.
We encourage you to experiment with different shapes, colors, and perspectives to create unique isometric designs that captivate your audience.
Don't forget to explore other entries in this blog for more design tips and inspiration. And if you create an isometric masterpiece, be sure to share it with our community—we'd love to see what you come up with!