First, get connected
Complete these three steps once. You’ll be ready to try any of the use cases below.
1. Set up Paper
Download Paper Desktop, sign in, and create a file. Keep it open while you connect your agent.
You can design in the browser, too. The MCP setup here uses Desktop.
2. Connect your agent
Paper MCP lets your agent read and edit the canvas. Open Connect your agent in Paper, or deselect everything and use the MCP panel on the right.
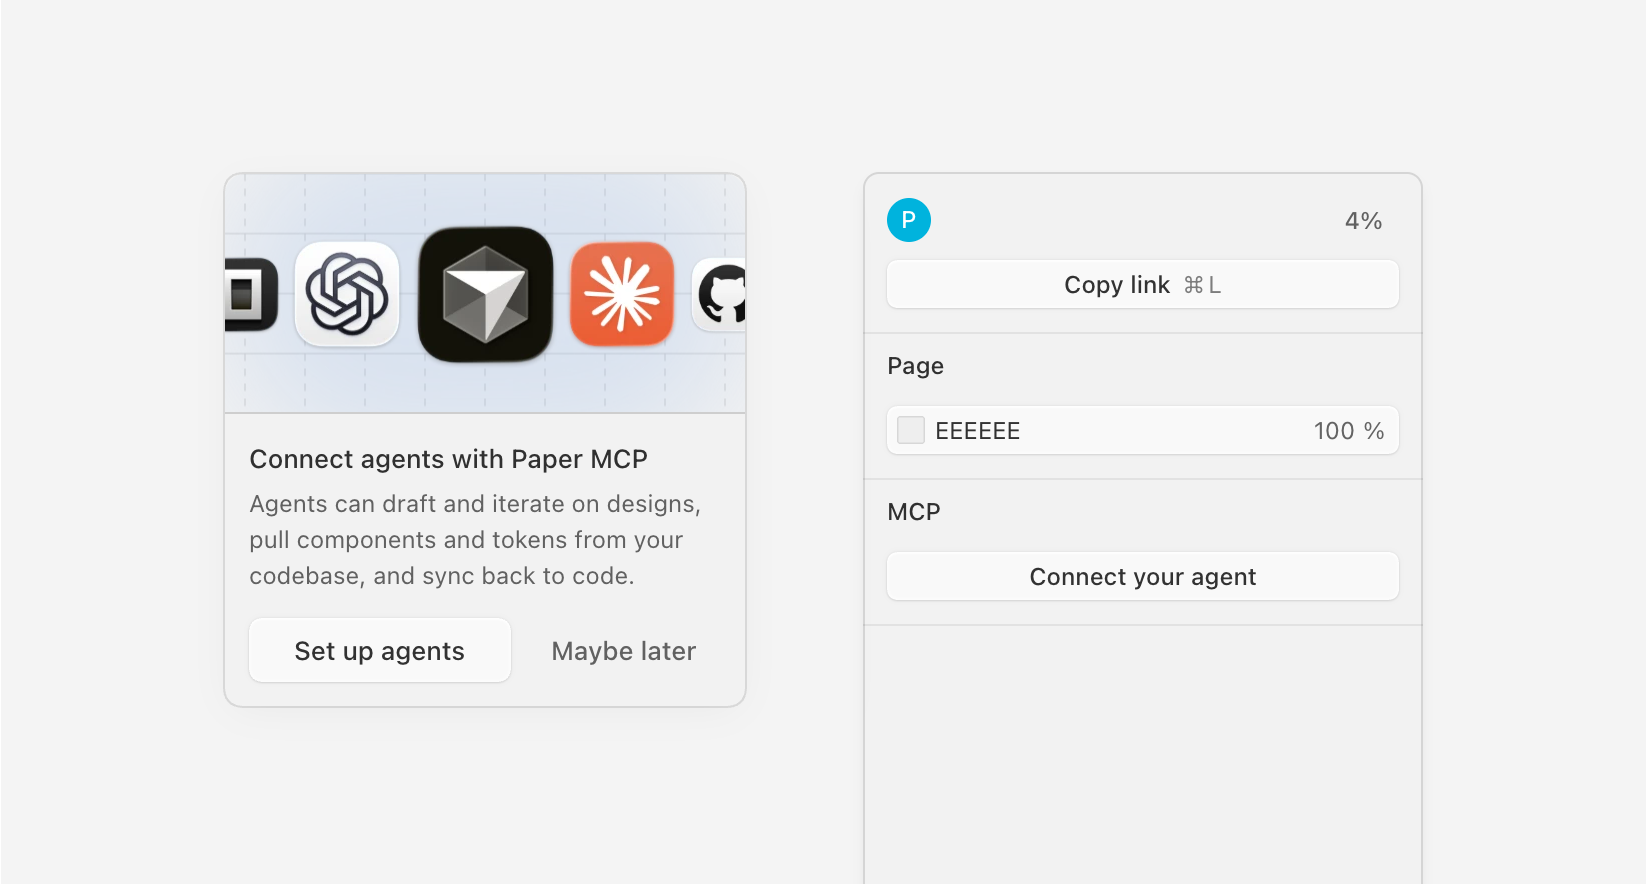
Choose Add to Claude, restart Claude Code, then run /mcp to check that Paper is listed.
Choose Add to Cursor, then check Settings → Tools & MCP. Reload the window if Paper hasn’t appeared.
Choose Add to Codex, then open a new Codex chat or CLI session.
3. Test the connection
Send this prompt in your connected agent:
Check your connection to Paper. Tell me which file you can access, then create a small frame labeled “Connection check.”It worked if: a “Connection check” frame appears in the right Paper file.
The test isn’t working
Keep the intended file open in Paper Desktop. Restart the agent session and check its MCP connection. Ask it to report the file name it can see before trying again.
Connected? Choose something to try below.
Then, put Paper to use
Pick the task that fits what you want to make. Each use case includes a prompt and a way to check the result.
Design a screen from scratch
Start with a small idea. Try this complete example first, then change the content for your own page or product.
Create a simple, editable event signup screen in a new Paper frame. Use this sample content:
Title: Community Design Night
Description: An evening of design critiques and conversation.
When: Thursday, 6pm
Button: Save my seat
Use a clear content hierarchy and a spacious vertical layout.
Check the result: Can you tell what the event is, when it happens, and what to do next? Try editing the heading or button label directly in Paper.
Explore and review alternatives
Use this when you have a first draft and want to compare directions. Select the frame or refer to it by name.
Read the [selected or named] frame. Create two alternatives in separate frames, exploring [layout or hierarchy]. Keep the content the same and preserve the original. Explain the main difference.Then ask for feedback
Review the [selected or named] Paper frame for readability, hierarchy, spacing, and clarity of the main action. Suggest the three most useful improvements. Don’t edit the design yet.Check the result: Compare the versions on the canvas. Choose the one that makes the main task clearest, then refine it.
Start from a live webpage
Install Paper Snapshot, capture a webpage element, and paste it into Paper as editable layers. Start with one small section.
Use the [pasted section] in Paper as a starting point. Create a separate variation for [goal]. Keep the content and original frame, and change [specific layout or visual decision].Check the result: Inspect the pasted text, images, and spacing before iterating. Make sure the original and your variation remain separate.
Use styles from an existing product
Open the product’s local project folder in your coding agent. Use this when you want a new design to follow the colors, typography, and patterns your team already uses.
Inspect the relevant component, stylesheet, and token files in this project. Use those styles as context to create [screen or section] in a new Paper frame. Reuse our visual patterns and create Paper tokens from existing CSS variables where supported. List the source paths and any approximations. Leave the repository unchanged.Check the result: Compare the design against the actual product. These are editable visual references; a connection does not automatically synchronize the component library. More on Paper tokens.
Bring a design into code
Open your project folder in the coding agent and select or name the Paper frame to implement. Add the behavior you expect from the screen.
Read the [selected or named] Paper frame and implement it in this project. Follow our existing components, tokens, and code conventions. Include [required interactions and states]. Explain how to run it locally and list any mocked behavior or unfinished integrations.Check the result: Open the local prototype and test its interactions, errors, and screen sizes. Record what still needs engineering review. Paper’s design-to-code guide.
Canvas basics
Working visually in Paper
Start with a frame (F), text (T), and rectangles (R). Use Shift + A to wrap related elements in a flex layout. Adjust direction, spacing, and padding, then duplicate a frame to compare another idea.
Use tokens in the Theme tab for repeated values such as colors and spacing. Share a file link for feedback or export a selected frame as an image.
Shortcuts shown for macOS. Paper shortcuts · Tokens
Your first session
0 of 4 checks complete
Created by The Design Project. Setup checked against Paper’s documentation on November 4, 2026.